Brake pads and rotors are the most frequently replaced wear parts on the braking system, and the work is well within reach of competent home mechanics with proper tools. Even owners who hire shops to do the work benefit from understanding what is being replaced, why specific decisions matter, and how to evaluate quotes and recommendations. The brakes are too important to leave entirely to chance, and informed customers consistently get better service.
The first decision is when to replace. Most brake pads have a wear indicator that contacts the rotor when the pad reaches its minimum thickness, producing a high-pitched squeal during braking. This is a deliberate warning signal designed to be impossible to ignore, and it indicates that replacement is due soon, not immediately. Driving for several hundred more miles after the squealer activates is generally safe but pushes against the safety margin. Pads worn past the wear indicator begin to damage the rotors as the steel backing plate contacts the rotor surface, causing a deep grinding sound and dramatic rotor damage that turns a pad replacement into a pad and rotor replacement.
Visual inspection is more reliable than relying on noise. Most pads start at twelve millimeters of friction material thickness and should be replaced when worn to three millimeters or less. The pads are visible through the spokes of most wheels, and a flashlight makes the inspection straightforward. Both pads in each caliper should wear evenly; uneven wear between inner and outer pads on the same caliper indicates a sticking caliper slide or a stuck piston, which must be addressed before new pads are installed or the new pads will fail prematurely.
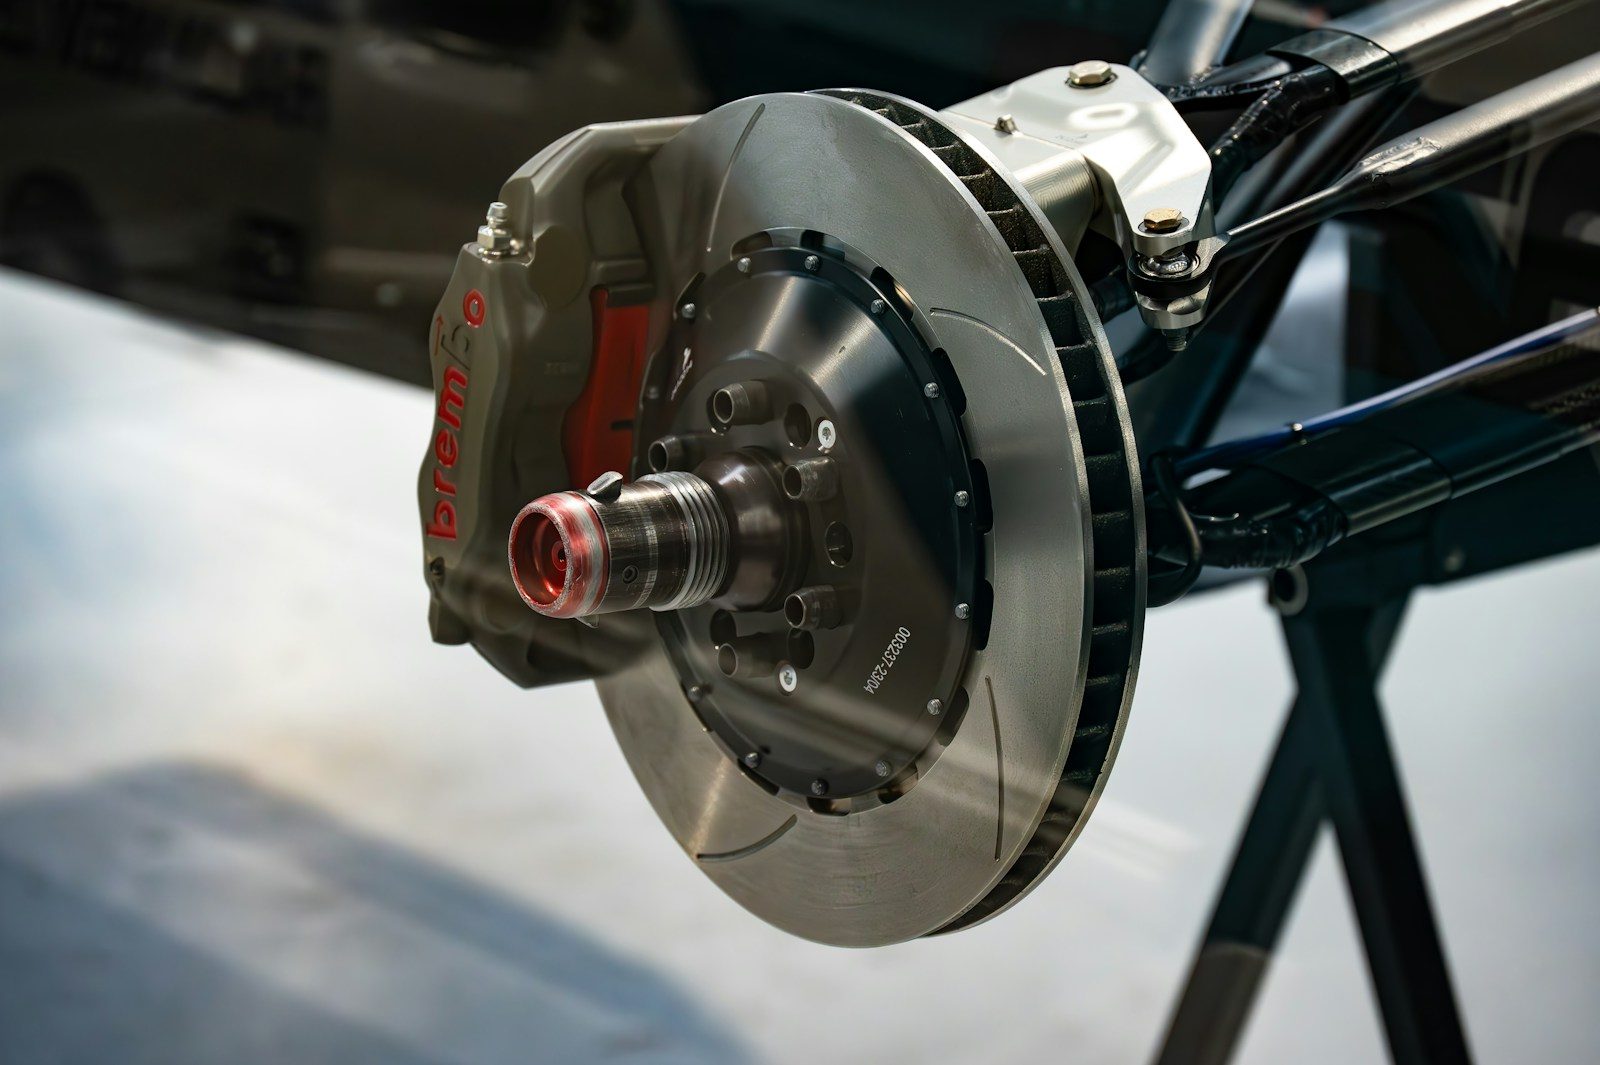
Rotor condition guides the next decision. Rotors wear at roughly half the rate of pads, so a rotor often survives two pad replacements before needing service. Modern rotors are typically thinner than older designs and may have minimum thickness specifications that prohibit machining; a rotor below the specified minimum must be replaced. Rotors with deep grooves, lateral runout, or visible heat damage benefit from machining or replacement. Cheap aftermarket rotors sometimes warp under the heat of normal driving, while high-quality rotors hold up far better, so paying somewhat more for quality often pays back in service life.
Pad selection matters more than many drivers realize. The factory pad on a vehicle is balanced for the engineer’s intended use, often emphasizing low noise and long life over outright performance. Aftermarket pads offer wide variation. Ceramic pads run cool, dust less, and are quiet, but they grip slightly less aggressively than semi-metallic pads. Semi-metallic pads provide more bite and better fade resistance but are dustier and harder on rotors. Performance pads designed for track use are dangerous on the street because they require heat to grip well, leaving cold morning braking distances dangerously long. Choosing pads matched to the vehicle’s actual use is more important than choosing the most expensive option.
The mechanical work itself is straightforward but demands care. Caliper bolts are removed to swing the caliper away from the rotor, the old pads are removed, the caliper piston is compressed back into the caliper bore to make room for the thicker new pads, and the new pads are installed in the caliper bracket. Compressing the piston requires a special tool or careful use of a C-clamp; rear calipers with integrated parking brakes require a piston that screws back rather than being pushed, demanding a specific tool. Failing to compress correctly damages the caliper and creates a comeback when the brakes feel wrong after the job.
Caliper slides should be inspected and lubricated during every pad replacement. The slides allow the caliper to float and apply pressure evenly to both pads. Dry, corroded, or seized slides cause uneven pad wear and reduced braking performance. A small amount of high-temperature brake grease on the slide pins, applied to the metal surfaces but not into the boots, restores proper function. Slides that are pitted or corroded beyond cleaning need replacement.
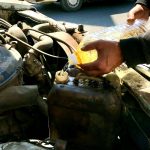
Brake fluid level should be checked and topped up after pad replacement. Compressing the calipers pushes fluid back into the master cylinder, where it can overflow if the reservoir was already full. Bleeding the brakes is not strictly required during routine pad replacement, but it is a good opportunity to refresh the fluid if it has not been changed in two or more years.
After installing new pads, the brakes need bedding. The first several stops should be moderate, not aggressive, to allow a transfer layer of pad material to deposit on the rotor. The proper bedding procedure varies by pad manufacturer, but typically involves a series of progressively harder stops from various speeds to seat the pads and rotors. Skipping this step compromises performance and can cause uneven friction layers that lead to vibration.
Test driving and inspection complete the job. New brakes should feel firm and predictable, with no pulsation or pulling. Any unusual feel indicates a problem requiring investigation before regular driving resumes. After the first hundred miles, the lug nuts should be re-torqued and the brakes inspected for leaks or unusual wear that might indicate a problem missed during installation.
Cost-wise, brake jobs vary widely. Pads alone range from inexpensive to pricey depending on quality and vehicle. Rotors add their own cost, and labor can double the parts cost at most shops. Owners who do the work themselves save the labor charge but bear the responsibility of doing it correctly. The work is forgiving for those who follow proper procedures and unforgiving for those who skip steps. Either way, brakes are a safety system that deserves attention to detail, and the savings from cutting corners are never worth the consequences of a brake failure.